1. What epiphytes are and why you do not plant them
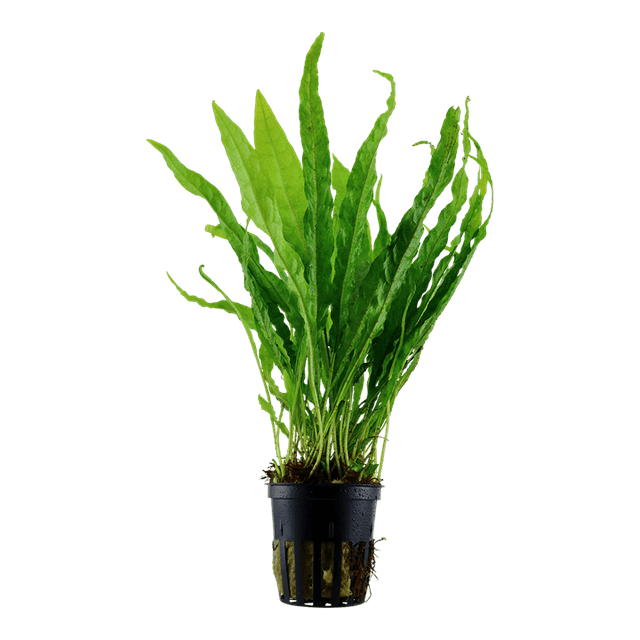
Anubias, Bucephalandra and Microsorum pteropus, or Java fern, are plants that in nature grow on rocks and roots, not in soil. Their thick stem, the rhizome, holds their reserves and must stay free. If the rhizome is buried in the substrate, it usually starts to rot.
According to Wikipedia, Java fern is attached in an aquarium to rock or driftwood by tying or glueing the roots that grow from the rhizome. Tropica gives the same advice: grow it on wood or stone, tie it with fishing line until it holds, and never bury the rhizome.
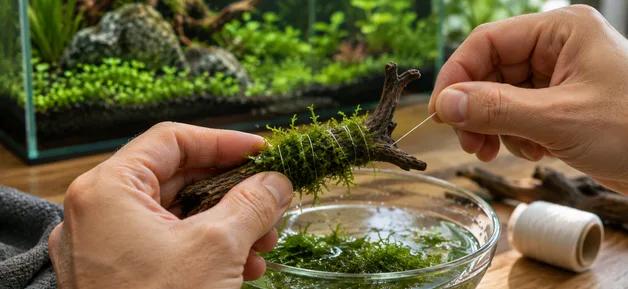
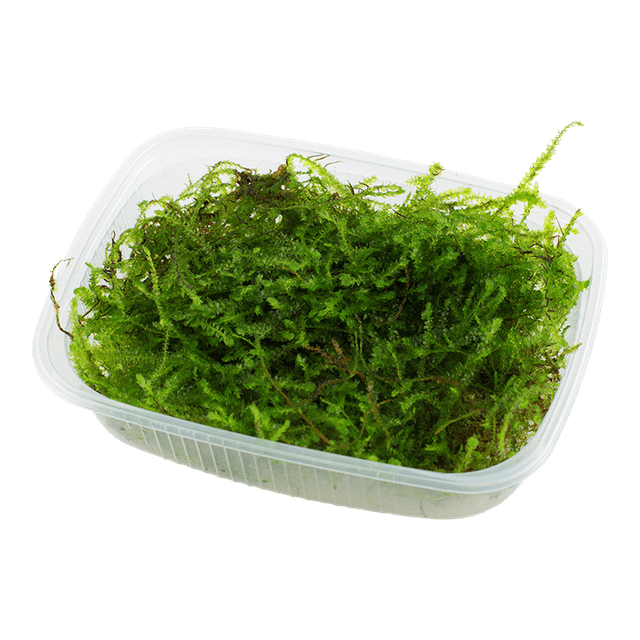
Mosses, such as Bogor Moss and Taiwan Moss, also attach to almost anything: according to Tropica’s description they are good for decorating stones and roots, tied on with a piece of thread until they hold.
2. Which plants suit
In our data the placement “On rock or wood” is given for five Bucephalandra and seven Anubias forms and for some mosses. For example Anubias barteri var. nana Large, Bucephalandra sordidula Blue and Taxiphyllum barbieri Bogor Moss are all easy and need little light and CO2.
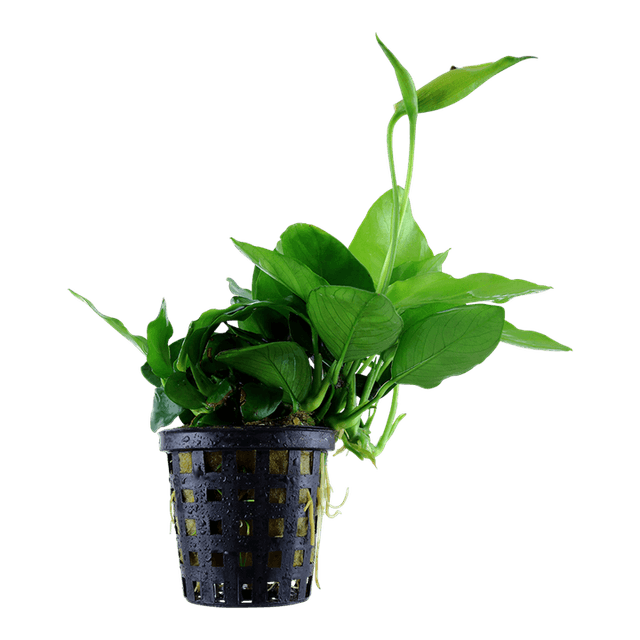
Anubias nana Large is a larger-leaved form. According to Tropica it flowers readily under water and is ignored by herbivorous fish. Bucephalandra is slow and versatile, suitable for rock or wood in natural-style layouts.
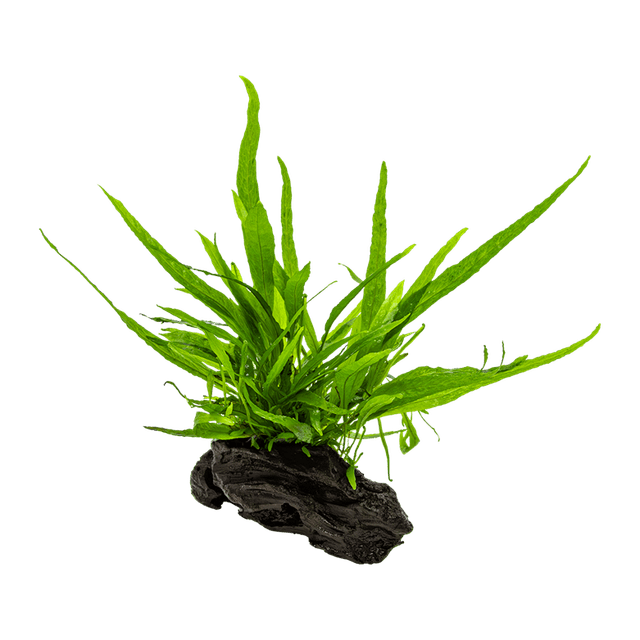
Do not forget Microsorum pteropus: Tropica lists its placement as middleground, but it is grown on wood or stone as well. Microsorum pteropus nano wood is Java fern already grown on a small piece of wood, ready to place in the aquarium.
3. How to attach the plant
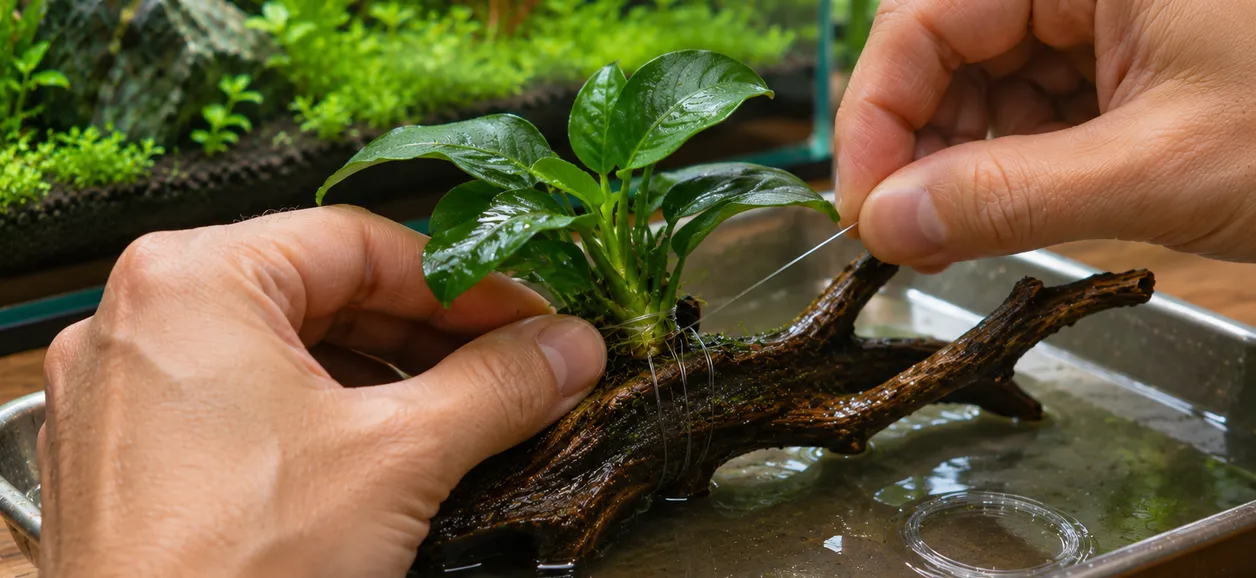
Place the plant against the wood or rock so that the rhizome stays on the surface, not inside a crack. Tie it lightly with fishing line or thread, so the rhizome is not squeezed. After a few weeks, when the roots have gripped, you can remove the thin thread.
Some aquascapers attach plants with a gel-type aquarium glue. Follow the manufacturer’s instructions and use only a little, just at the attachment point.
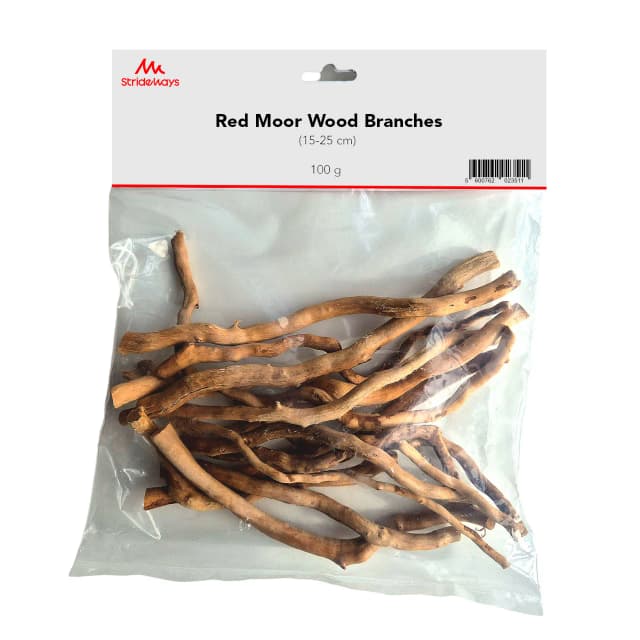
For mosses a thin thread or fine mesh works. Spread the moss in a thin layer, because a thick layer can die off inside, starved of light. Moor wood suits tying on moss and plants: Strideways Red Moor Wood is finely branched and meant for finishing a layout.
4. Wood and stone: what to choose
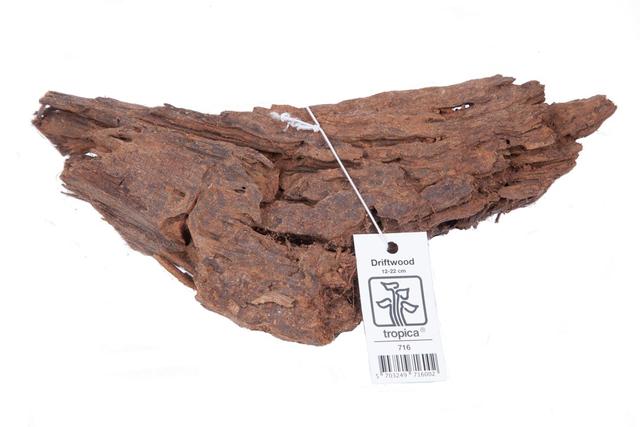
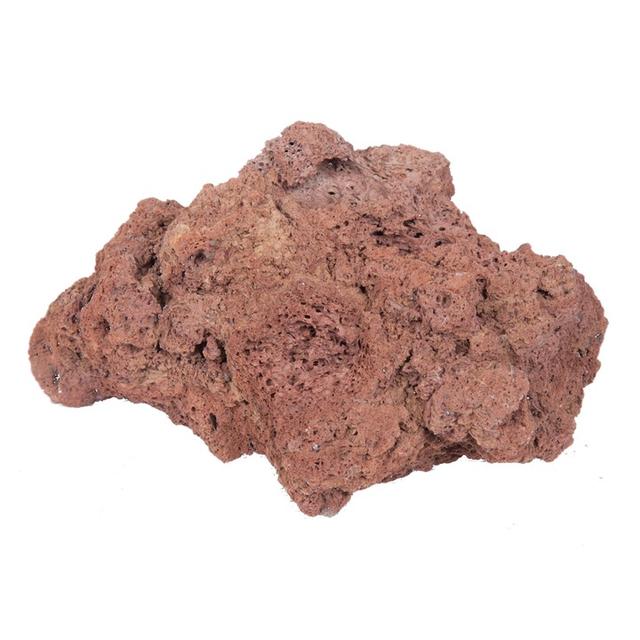
Tropica Driftwood 12–20 cm is wood for aquascaping and Tropica Lava Rock 8–15 cm is lava rock. Both work as a base for attached plants.
These are natural materials, so no two pieces are identical. Choose the size for your tank and put the pieces in place before you attach the plants.
New wood can tint the water brown and stone can affect water hardness, so read the product page. Soak the wood and rinse the stones before use.
5. Care and common mistakes
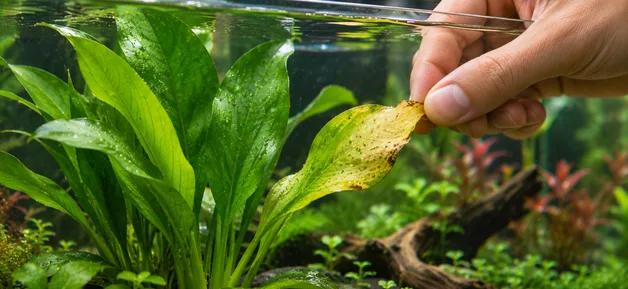
Anubias and Bucephalandra grow slowly, so do not rush. Give them moderate light: too much light encourages algae on their leaves. Remove damaged leaves and keep the rhizome free of debris.
A common mistake is to bury the rhizome in the substrate or to cover it heavily with moss and thread. Another is to leave tight thread on for good: it can squeeze a growing rhizome.
Plants can be propagated by splitting the rhizome; Tropica describes this for Java fern. If the plants come in packaging, also check the delivery and packaging information on the product page.
6. Layout tips
Start with the larger piece of wood or rock and choose one main plant for it, such as Anubias or Java fern. Add smaller pieces and moss later, so the layout keeps one clear focal point and a calm overall look.
Use plants of different heights: taller Anubias forms go on top of the wood, low Bucephalandra forms toward the front. Height and growth rate are in the table, so you can avoid a faster plant shading a slower one.
Finally, leave space: plants grow and rhizomes need free surface. It is better to start a little sparse than to have an overgrown, muddled result later.
Plants for rock and wood (A-SCAPE data, placement “On rock or wood”)
| Plant | Height | Light / CO2 | Growth / difficulty |
|---|---|---|---|
| Anubias barteri var. nana Large | 5–15 cm | Low / low | Slow / Easy |
| Anubias gracilis | 10–20 cm | Low / low | Slow / Easy |
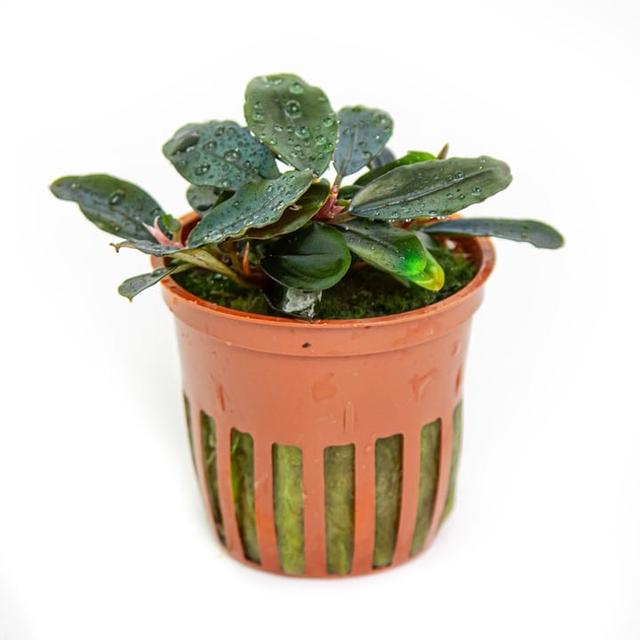
| Bucephalandra sordidula Blue | 5–10 cm | Low / low | Slow / Easy |
| Bucephalandra sp. Needle Leaf | 3–5 cm | Low / low | Slow / Medium |
| Taxiphyllum barbieri Bogor Moss | 3–10 cm | Low / low | Medium / Easy |
| Taxiphyllum alternans Taiwan Moss | 3–10 cm | Low / low | Medium / Easy |
Checklist
- Do not bury the rhizome in the substrate
- Tie the plant lightly with fishing line or thread
- Spread mosses in a thin layer
- Use glue sparingly and per the manufacturer
- Place wood and stone before the plants
- Keep the light moderate
- Remove damaged leaves
- Remove the thread once the plant has grown on
Products for this guide
| Plant | Height | Light | CO2 | Growth | Difficulty | Placement |
|---|---|---|---|---|---|---|
| Anubias barteri var. nana 'Large' | 5–15 cm | low | low | slow | easy | on rock or wood |
| Bucephalandra sordidula 'Blue' | 5–10 cm | low | low | slow | easy | on rock or wood |
| Microsorum pteropus nano wood | 15–30 cm | — | — | — | easy | centre |
| Taxiphyllum barbieri 'Bogor Moss' | 3–10 cm | low | low | medium | easy | on rock or wood |
Size, light and CO2 demand are manufacturer data; real results depend on your aquarium.
Frequently asked questions
Why does Anubias rot when planted in the substrate?
The rhizome must not be in the substrate. When it is buried it often starts to rot. Tie the plant to wood or stone so the rhizome stays free.
Does moss need strong light?
According to our data, Bogor Moss and Taiwan Moss need little light and CO2. Some mosses, such as Christmas Moss, are more demanding.
Can I divide Java fern?
Yes, according to Tropica’s description Java fern propagates by splitting the rhizome. Cut the rhizome into parts with clean scissors and attach each part again.